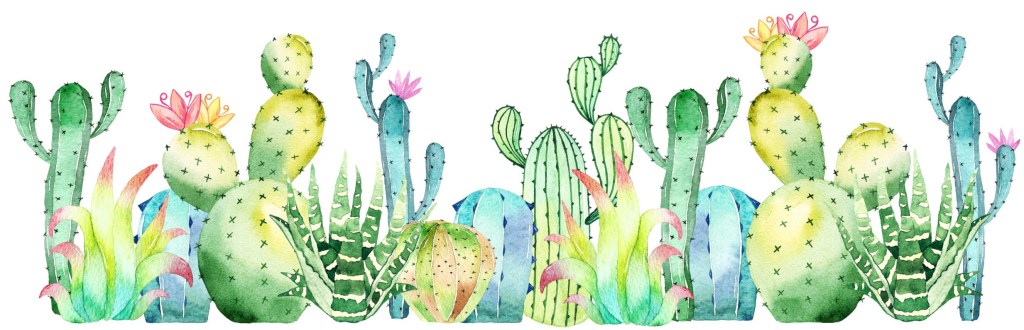
Most think of cactus as strictly low desert dwellers but many species are found in some very cold, harsh environments. Habitats of cold-hardy cacti can be found in high mountainous regions up to 10,000 feet in elevation in Colorado, Utah, Nevada, Arizona, New Mexico, and west Texas. Several types can be found in the Great Plains ranging from Oklahoma northward into Montana and the Dakotas. Even the tough Eastern prickly pear hails from northern Minnesota and Michigan into southern Canada! Additional cold-hardy species can be found in high southern mountains of Argentina and Patagonia. We define cold-hardy as those species that can withstand temperatures of 0ºF with some surviving cold snaps of up to -30ºF here in the high desert!
Cacti in Cold Weather Climates
Cactus go through cellular changes when entering fall into winter. They will shed excess water in their cells causing them to “lay down” causing them to wrinkle, shrivel, go limp, and may turn purple or red. Although they may look like they are dying, they’re not! This is how they protect themselves in frigid prolonged temperature. If a cactus turns dark brown or black, they are rotting and will need to have the affected area cut away to prevent the damage from spreading.
By early to mid-March plants will begin to plump up and begin to show signs of new growth and/or flower buds which look like red spots at first. At this early stage it is impossible to tell the difference between flower buds and new segments or pads. Only with time will it become apparent which is happening.
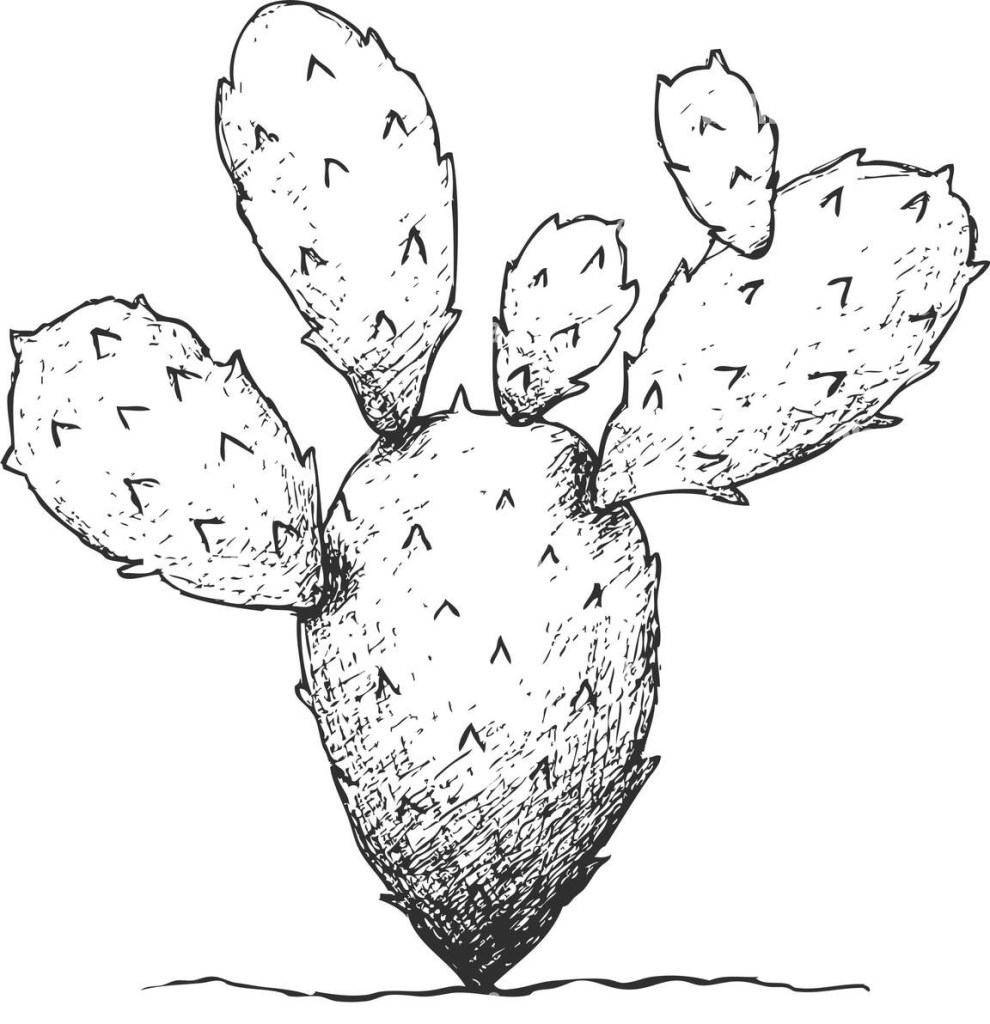
Basic Cactus Anatomy
What’s Best for Cactus
Cold-hardy cacti are not difficult to grow if you keep their basic requirements in mind. Tips to remember:
- Drainage: Cacti require excellent drainage.
2. Soil Prep: Cacti thrive in lean soils and they don’t need deep soil.
3. Location: They should be located to receive full sun, especially during winter months.
Drainage
Cold-hardy cacti are tough, but one thing they don’t like is getting their “feet wet.” Cacti require fast draining soil. This means no clay and no added compost, peat moss, or humus are needed. Drainage is critical to the health of the plant’s root system. Good old Central Oregon dirt with its high mix of lava rock, cinders, and sand makes an excellent medium.
- Planting cacti into water-retentive soils will result in root rot.
- Excellent drainage is particularly important during the winter, especially areas that receive frequent rain or snow. Watch for areas where water pools-avoid those areas! We recommend raised beds, berms, or containers or planting on naturally sloping areas.
- Avoid using bark chips as a soil topper as it will retain moisture near the base of the plant adding to the risk of rot. We use rock as a soil topper as this allows run-off during thunderstorms or watering and prevents soil from washing away underneath.
Soil Prep
If your soil is not sandy or rocky, it will be necessary to improve the soil’s drainage. A berm (low mound) or raised bed can be created, or they can be planted in pots or containers.
To create a lean, fast draining soil:
- Mix 2 parts native soil to 1 part coarse sand & 1 part small gravel, cinders, or pea gravel.
- Fertilizers are not needed if planting in the ground. (We do not use fertilizers in our garden). If planting in a container or large pots, you may use cactus fertilizers sparingly.
- Work larger rocks into the planting area creates pockets of soil that duplicate spots where cacti are found growing in the wild.
- Add a top dressing of rock (we use decorative crushed (3/4 open rock) to prevent soil erosion. It also adds “heat” around the cactus.
- Finally adding large decorative rock around the base of newly planted cacti will act as a “furnace” further protecting them especially during winter cold. Larger rocks also defines a space for newly planted cactus to deter animals (dogs, deer, etc.) from stepping on them.
Location
Choosing the right location to plant your cactus is of utmost importance. Most cacti prefer full sun and benefit from warm protected areas where rocks, buildings, or pavement absorb and hold heat.
- When looking for a planting space, be sure to find places where full summer sun is abundant. Take note if this same area will be in constant shadow when the sun is lower on the horizon. If it will be, this will not be the optimum placement.
- Low spots where water naturally pools should be avoided. Remember, cactus don’t like “wet feet.”
- Planting beds located in full sun against south/west facing walls or in hot dry areas surrounded by cement sidewalks or driveways work well. If planting under the eaves of a building, be mindful of snow or ice slipping off and falling on plants which can cause catastrophic damage.
- Protect cacti from excessive winter moisture. In climates receiving more than 18-20 inches of annual precipitation, either move pots under the overhand of the roof on the south or west side or cover the area with transparent-translucent coverings to help keep excessive moisture at bay. Here in the Central Oregon high desert, this is not an issue as our annual total rainfall averages around 8 inches per year.

Transplanting Techniques for Success
You’ve purchased a plant, or two, but now what? To improve transplanting success:
- Best done in the spring-early fall when no hard freezes are in the forecast.
- Make sure the plant’s roots in the pot are completely dry.
- Dig a hole roughly the same size diameter and depth as the pot it came in.
- Lightly tap around the entire nursery pot to loosen soil.
- Gently release cactus with its root ball onto a shovel or trowel adjacent to the hole being careful to not disturb the roots as much as possible. If you purchased a cactus from us, much of the soil (sand) will fall away during this process. Go ahead and use it to backfill the hole.
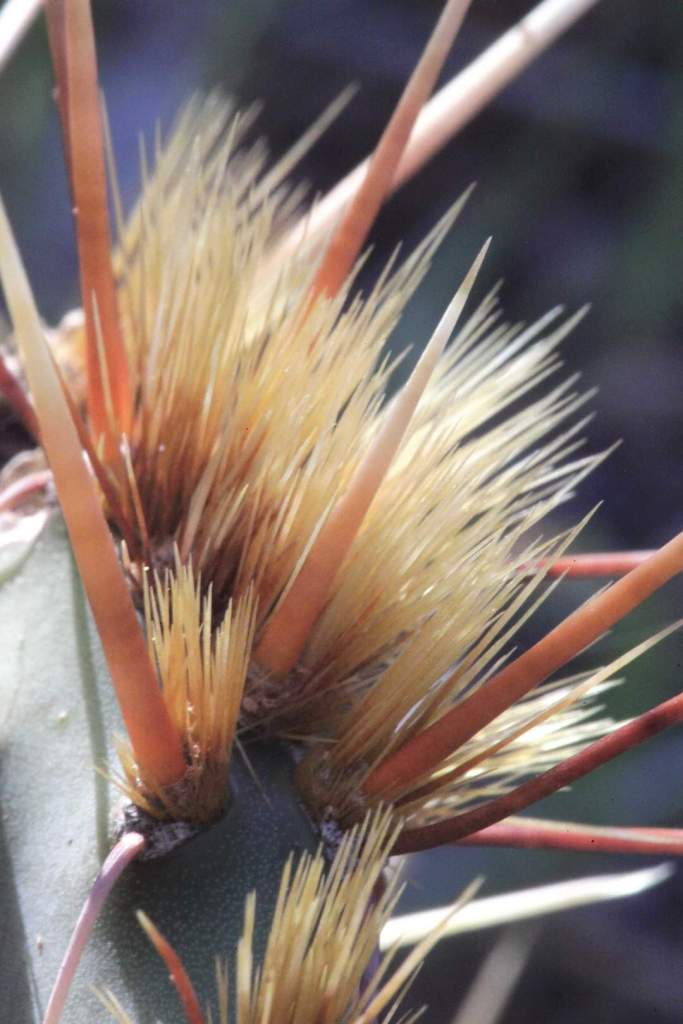
- Use BBQ tongs or a hemostat to support the cactus plant as you place the plant and its root ball into the pre-dug hole. We recommend using only tools to handle cactus instead of gloves. No gloves will repel spines or glochids from penetrating and you’ll only end up ruining your gloves.
- Fill in with appropriate soil mentioned above up to the bottom of the plant above the root line.
- Do not tamp down and do not water for at least one week.
Maintenance Tips for a Healthy Cactus Garden
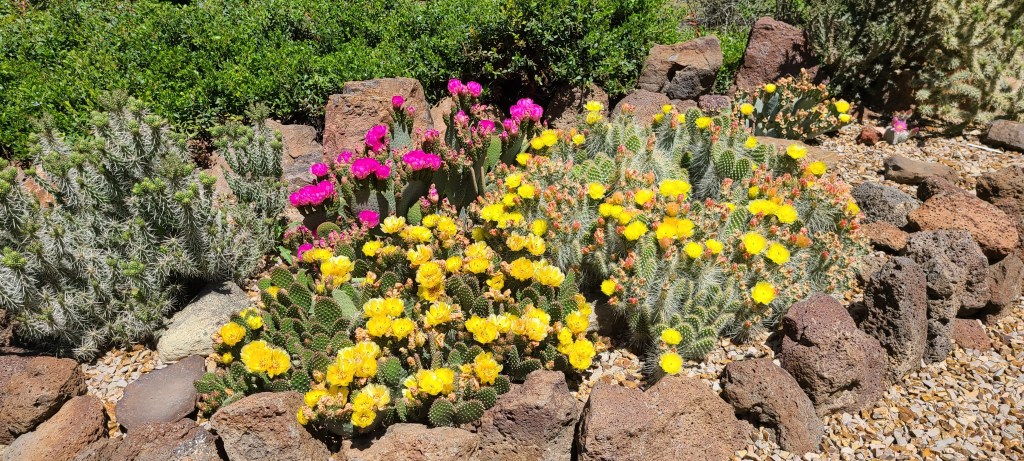
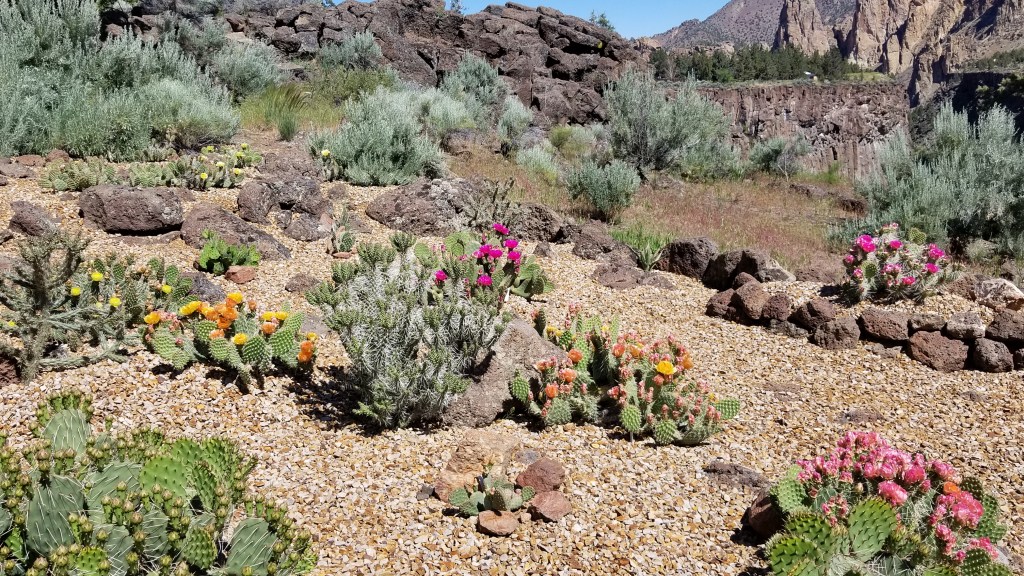
Maintaining your cactus plantings is easy and leaves you with an attractive space and makes it easy to maintain by pruning and weed control. Cacti make a wonderful xeriscaping project which is perfect for drought prone areas or just preserving water. Most cacti will bloom in April-July here in Central Oregon with the height of the flowering season being late May through June.
Spring Cleaning & Fall Maintenance
- In late February sprinkle “Preen” Weed Preventer over and around cactus plants. It will not harm the plant but will prevent weed seeds from germinating thus cutting down on the amount of weeding which can be quite the task working around the spines.
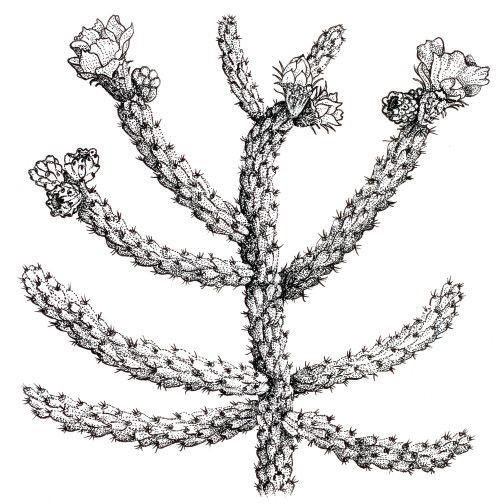
- In March clean up around around the base of cholla plants looking for dead segments which have fallen off the plant over the past year. You’ll recognize them by the tan color they present instead of being green. Similarly with prickly pear, if the plant is well established and rather large, gently lift pads inspecting underneath searching for dead pads (again they appear brown and will be hard and crusty), Use a hemostat or BBQ tongs to gently remove the dead pads. Also inspect pads on the plant they may take on a black or deep brown color as those pads are indicative of rot. Use a serrated knife to cut these pads away from the plant as rot can spread.
- September 1st is a good cut-off time for additional watering here in the high desert. Again check in and around plants for dead pads or segments.
- September is also a good time to prune back cacti that have overstepped their boundaries keeping the overall plant tidy and tamed. Use a sharp serrated knife to cut back prickly pear at the joint of pads and use loppers to cut back cholla as they have a woody structure that makes a knife impractical.
- After trees have finished shedding their leaves, remove any leaves from in and around the cactus plants. If there are any neighboring plants (other than cactus) that have crept in and around the cactus during the summer growing season, cut those back as well. The goal is to prevent leaves and other plants from holding moisture in and around the cactus plant or casting a large amount of shade during the winter months.
Cacti in Cold Weather Climates
Cacti go through cellular changes when entering fall into winter. They will shed excess water from their cells causing them to wrinkle, shrivel, go limp, and may turn purple or red. Although they may look like they are dying, they’re not! This is how they protect themselves in frigid prolonged temperatures. If a cactus turns brown or black, they are rotting and affected pads or segments will need to be cut away to prevent the damage from spreading to the remaining healthy plant. In early to mid-March they will begin to plump up and stand up eventually showing signs of new growth and/or flower buds developing which all look like red spots at first.
Flowers & Fruits
After flowering, cactus plants shed their dead flowers leaving the fruit (seed pod) attached. Many prickly pear cacti have dry spiny fruits that contain seeds where others will have a red, fleshy fruit that can be used to make jams, jellies, or syrups. Remove any remaining red fruits from cacti in mid-winter as leaving them on can damage the edges of the pads.
Cholla fruits will cling on and eventually turn yellow and will not fall off until the following year. We remove the fruits from chollas in the early spring, regardless of their maturity, to help promote more prolific blooms each summer.